
Hello there fellow gardeners! It’s getting to be that time of year! Hooray! It’s almost time to start sowing those seeds! 🌱 Gardening season is upon us!
Last year was the first year I started from seed. I was amazed how easy it was and it really made me wish I had done it years ago!
TIP: However, if this is your first year gardening you might want to buy your transplants and focus on getting to know your plants before you try to start from seed. It could quickly become overwhelming. Don’t let that happen to you! Gardening shouldn’t be stressful! It should be therapeutic and exciting!
Starting from seed is also a great way to cut costs when gardening. Seed packets cost pennies whereas transplant cost dollars. Your seed packets can last year’s if you store them properly. Sowing seeds just cost time and if you have that time I highly recommend it! Not to mention it’s a great way to help with those winter blues, keeping you optimistic that spring is around the corner!
Before we get started I have a few tips to make your seed sowing just a little easier.
TIPS:
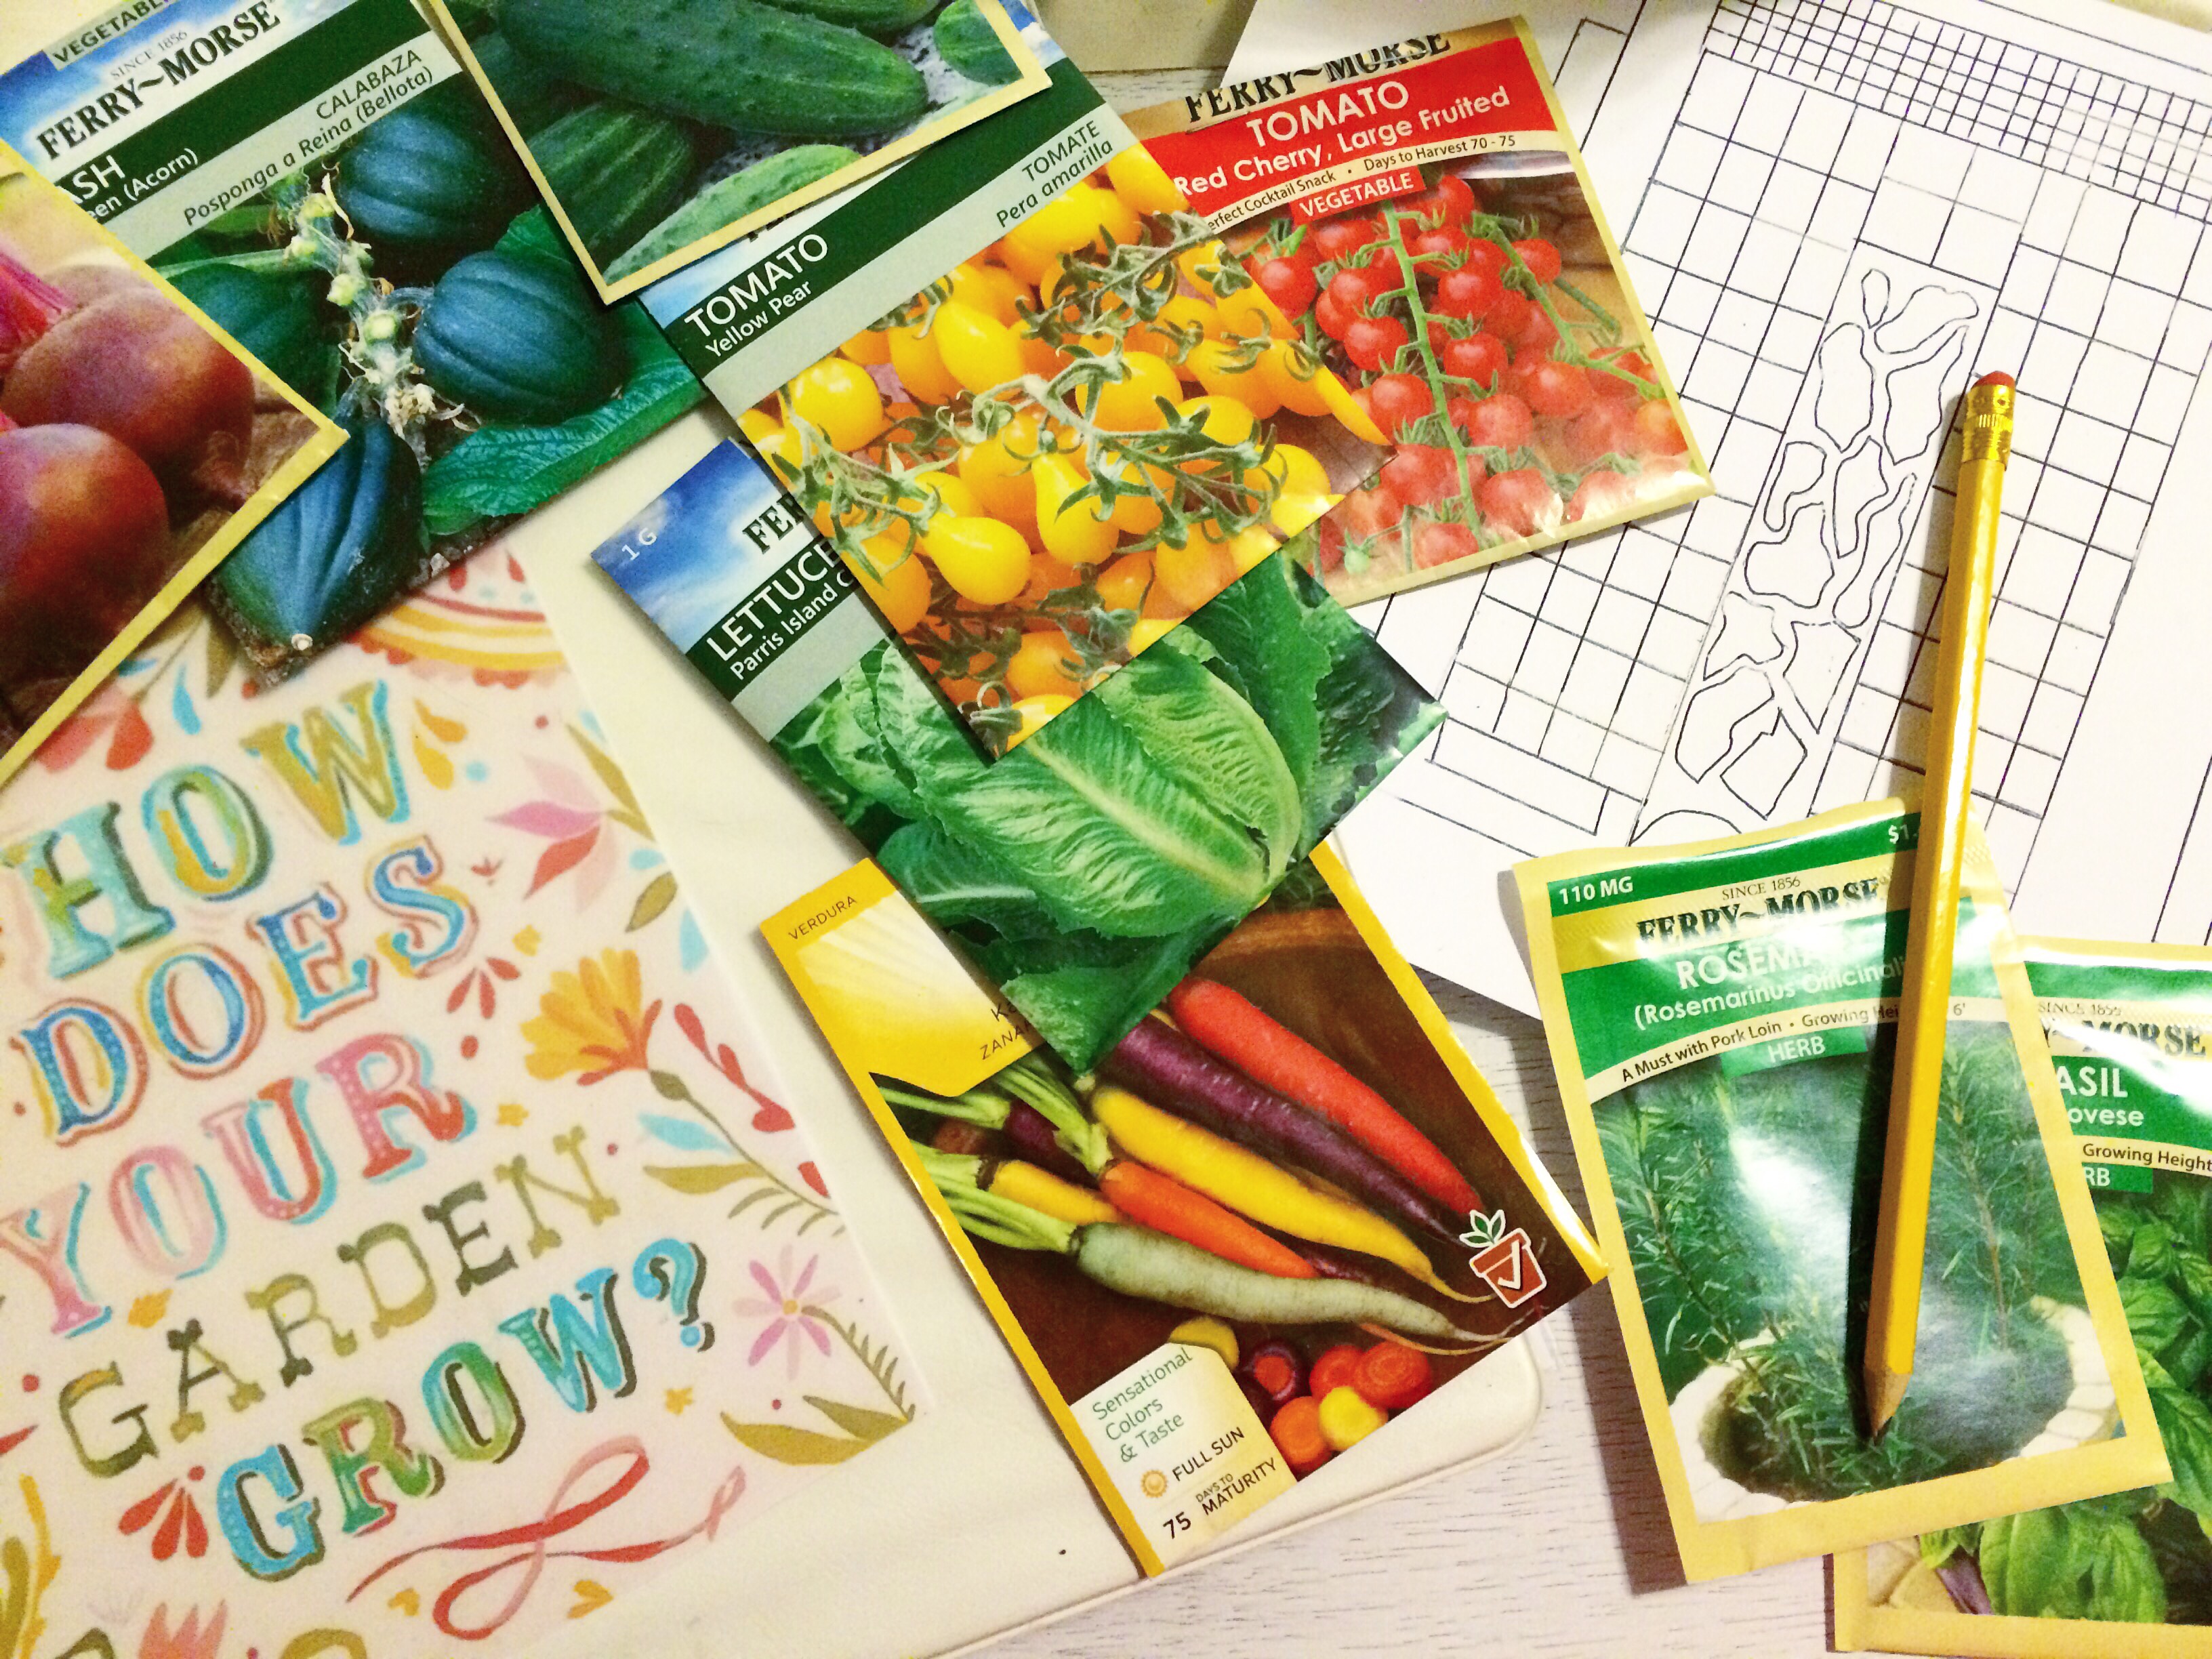
- Create a garden binder
- Hand draw a grid of your garden on paper and make copies
- Figure out what you want to grow and how much of it you want to grow
- Purchase seeds and read growing details on the back of the seed packets
- With a pencil right down on your garden grid where you are going to be planting what you’re growing
- Keep in mind when placing your plants you want your larger plants in the back and smaller plants up front.
By no means do you have to follow my tips but I highly recommend doing those six things above!
It keeps you organized and in the long run will help you save money because you won’t be buying things that you don’t need. You’ll know exactly how many seeds to plant and will be able to store the remaining seeds for future gardening seasons.

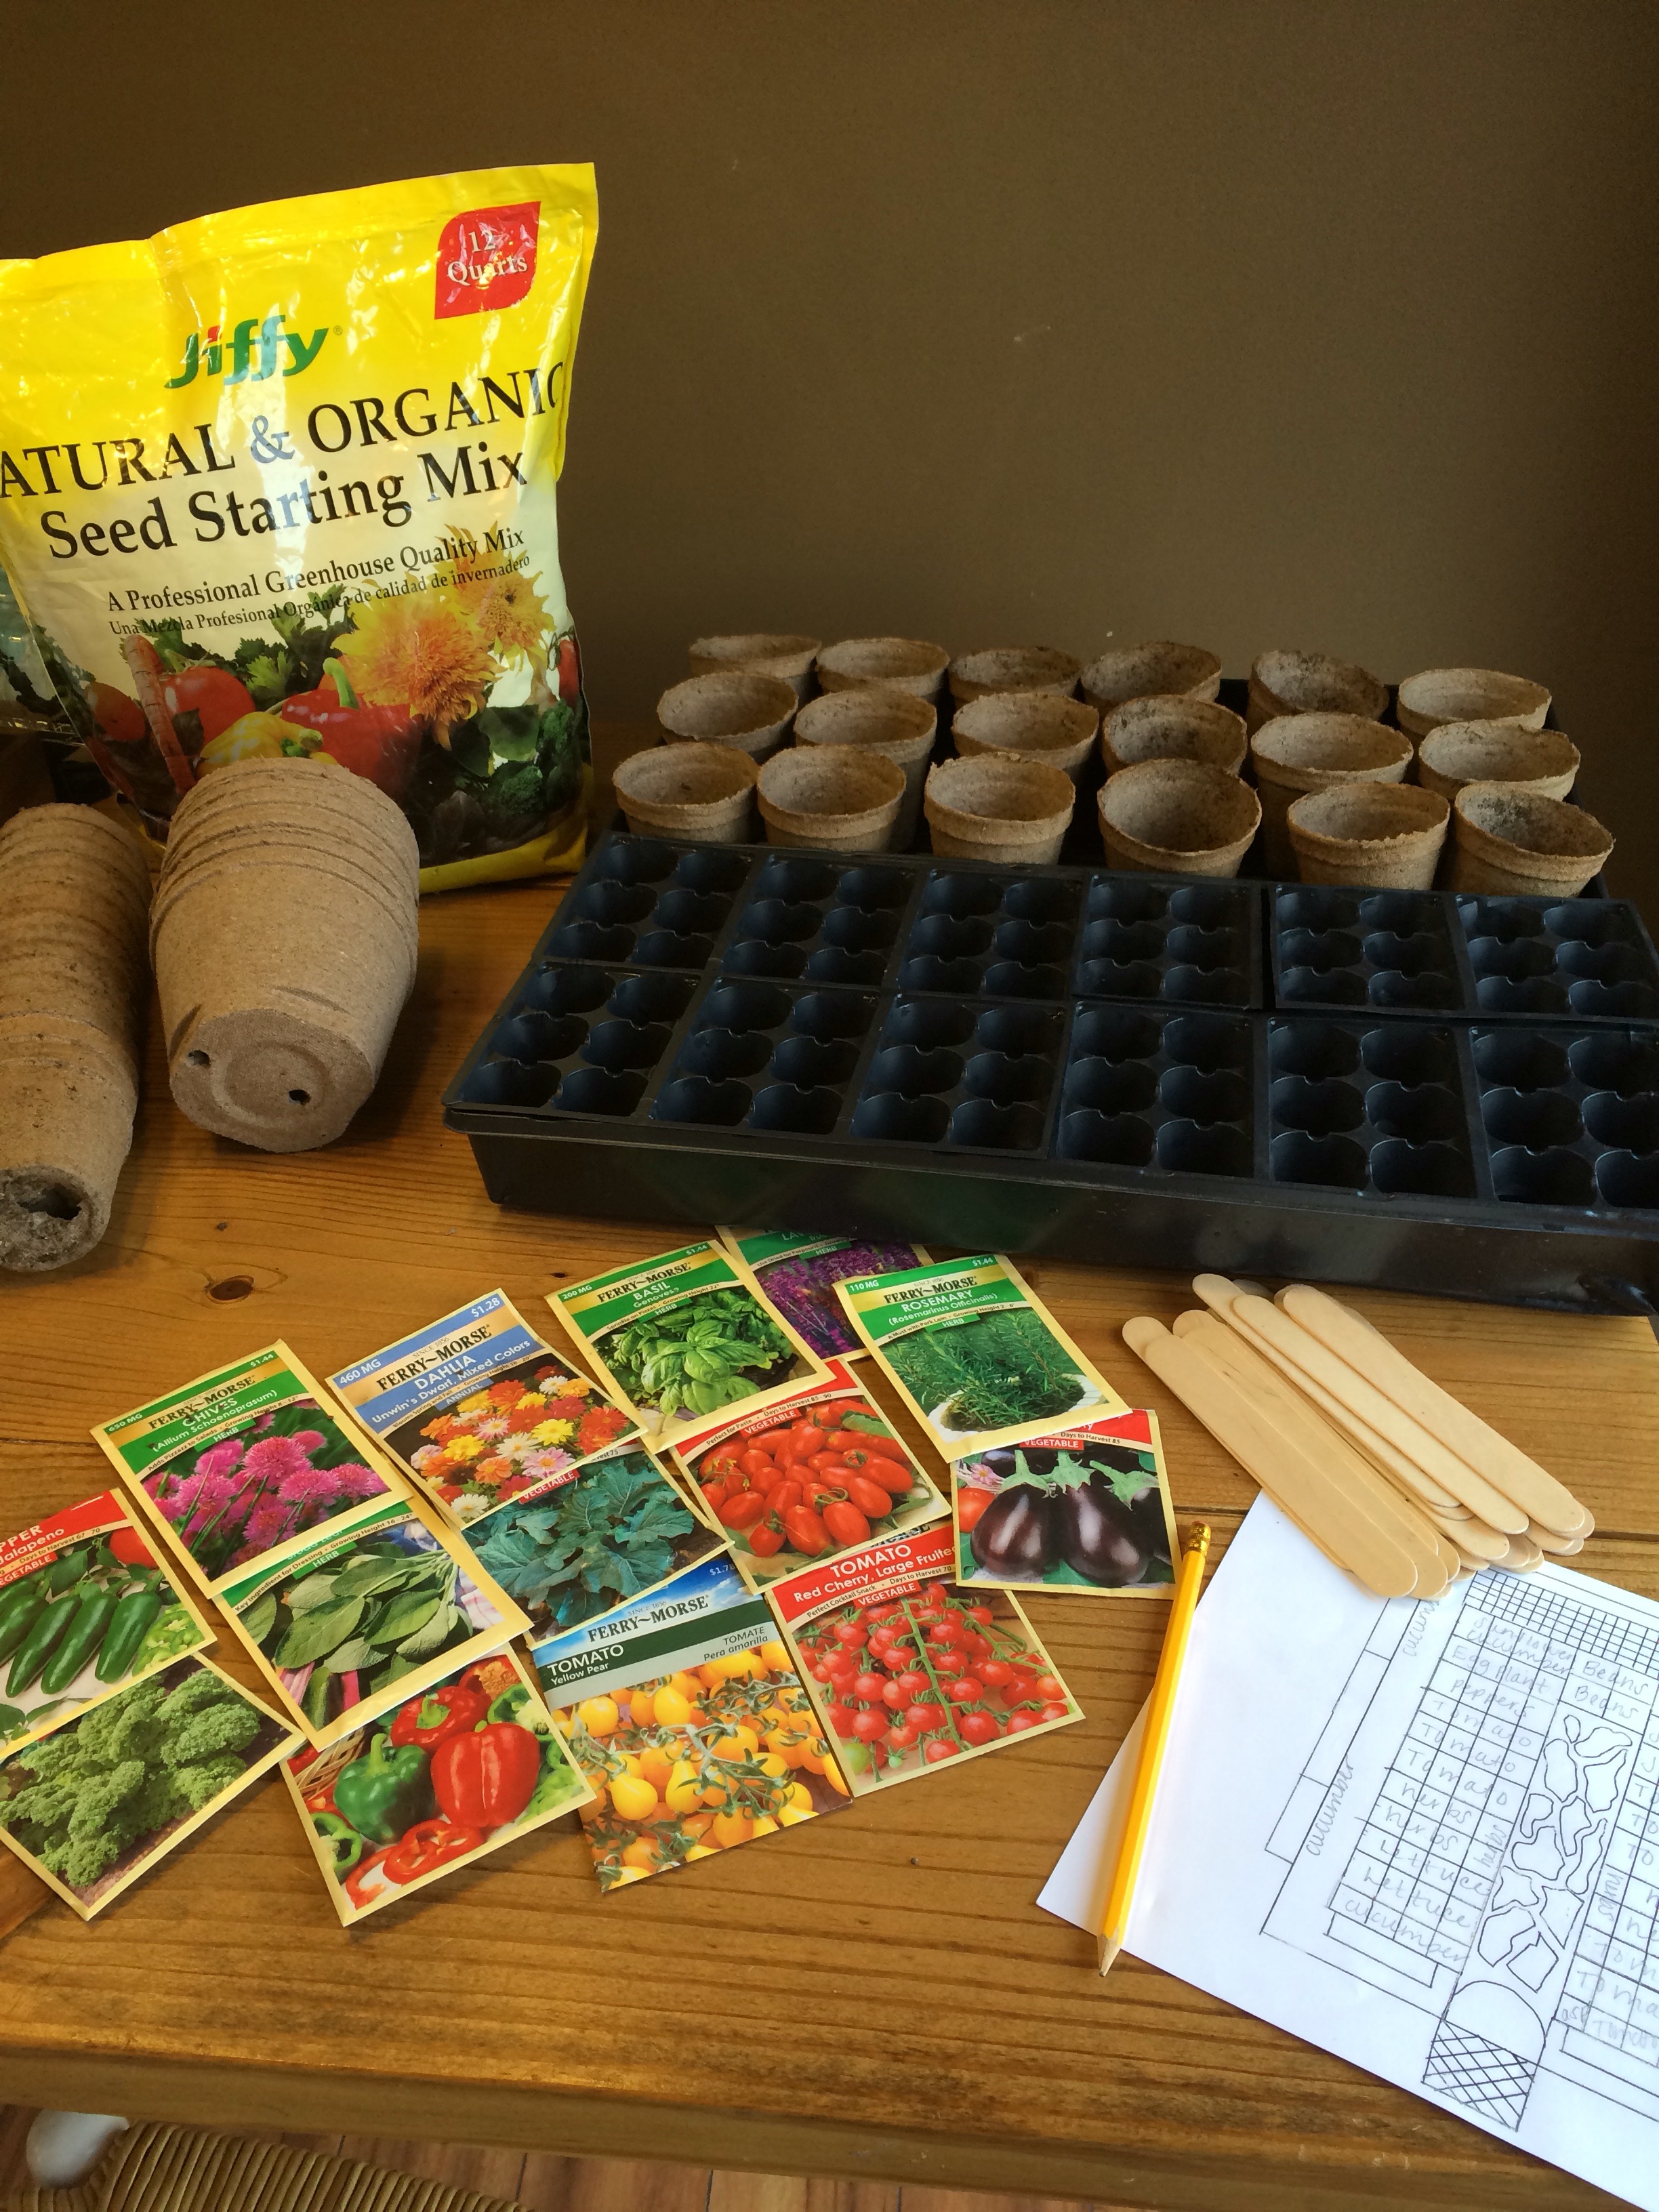
You will need:
Grow light system or window that receives sun
Seeds
Seed trays
Seed starting soil mix
Popsicle sticks
Garden grid
Pencil and pen
Water
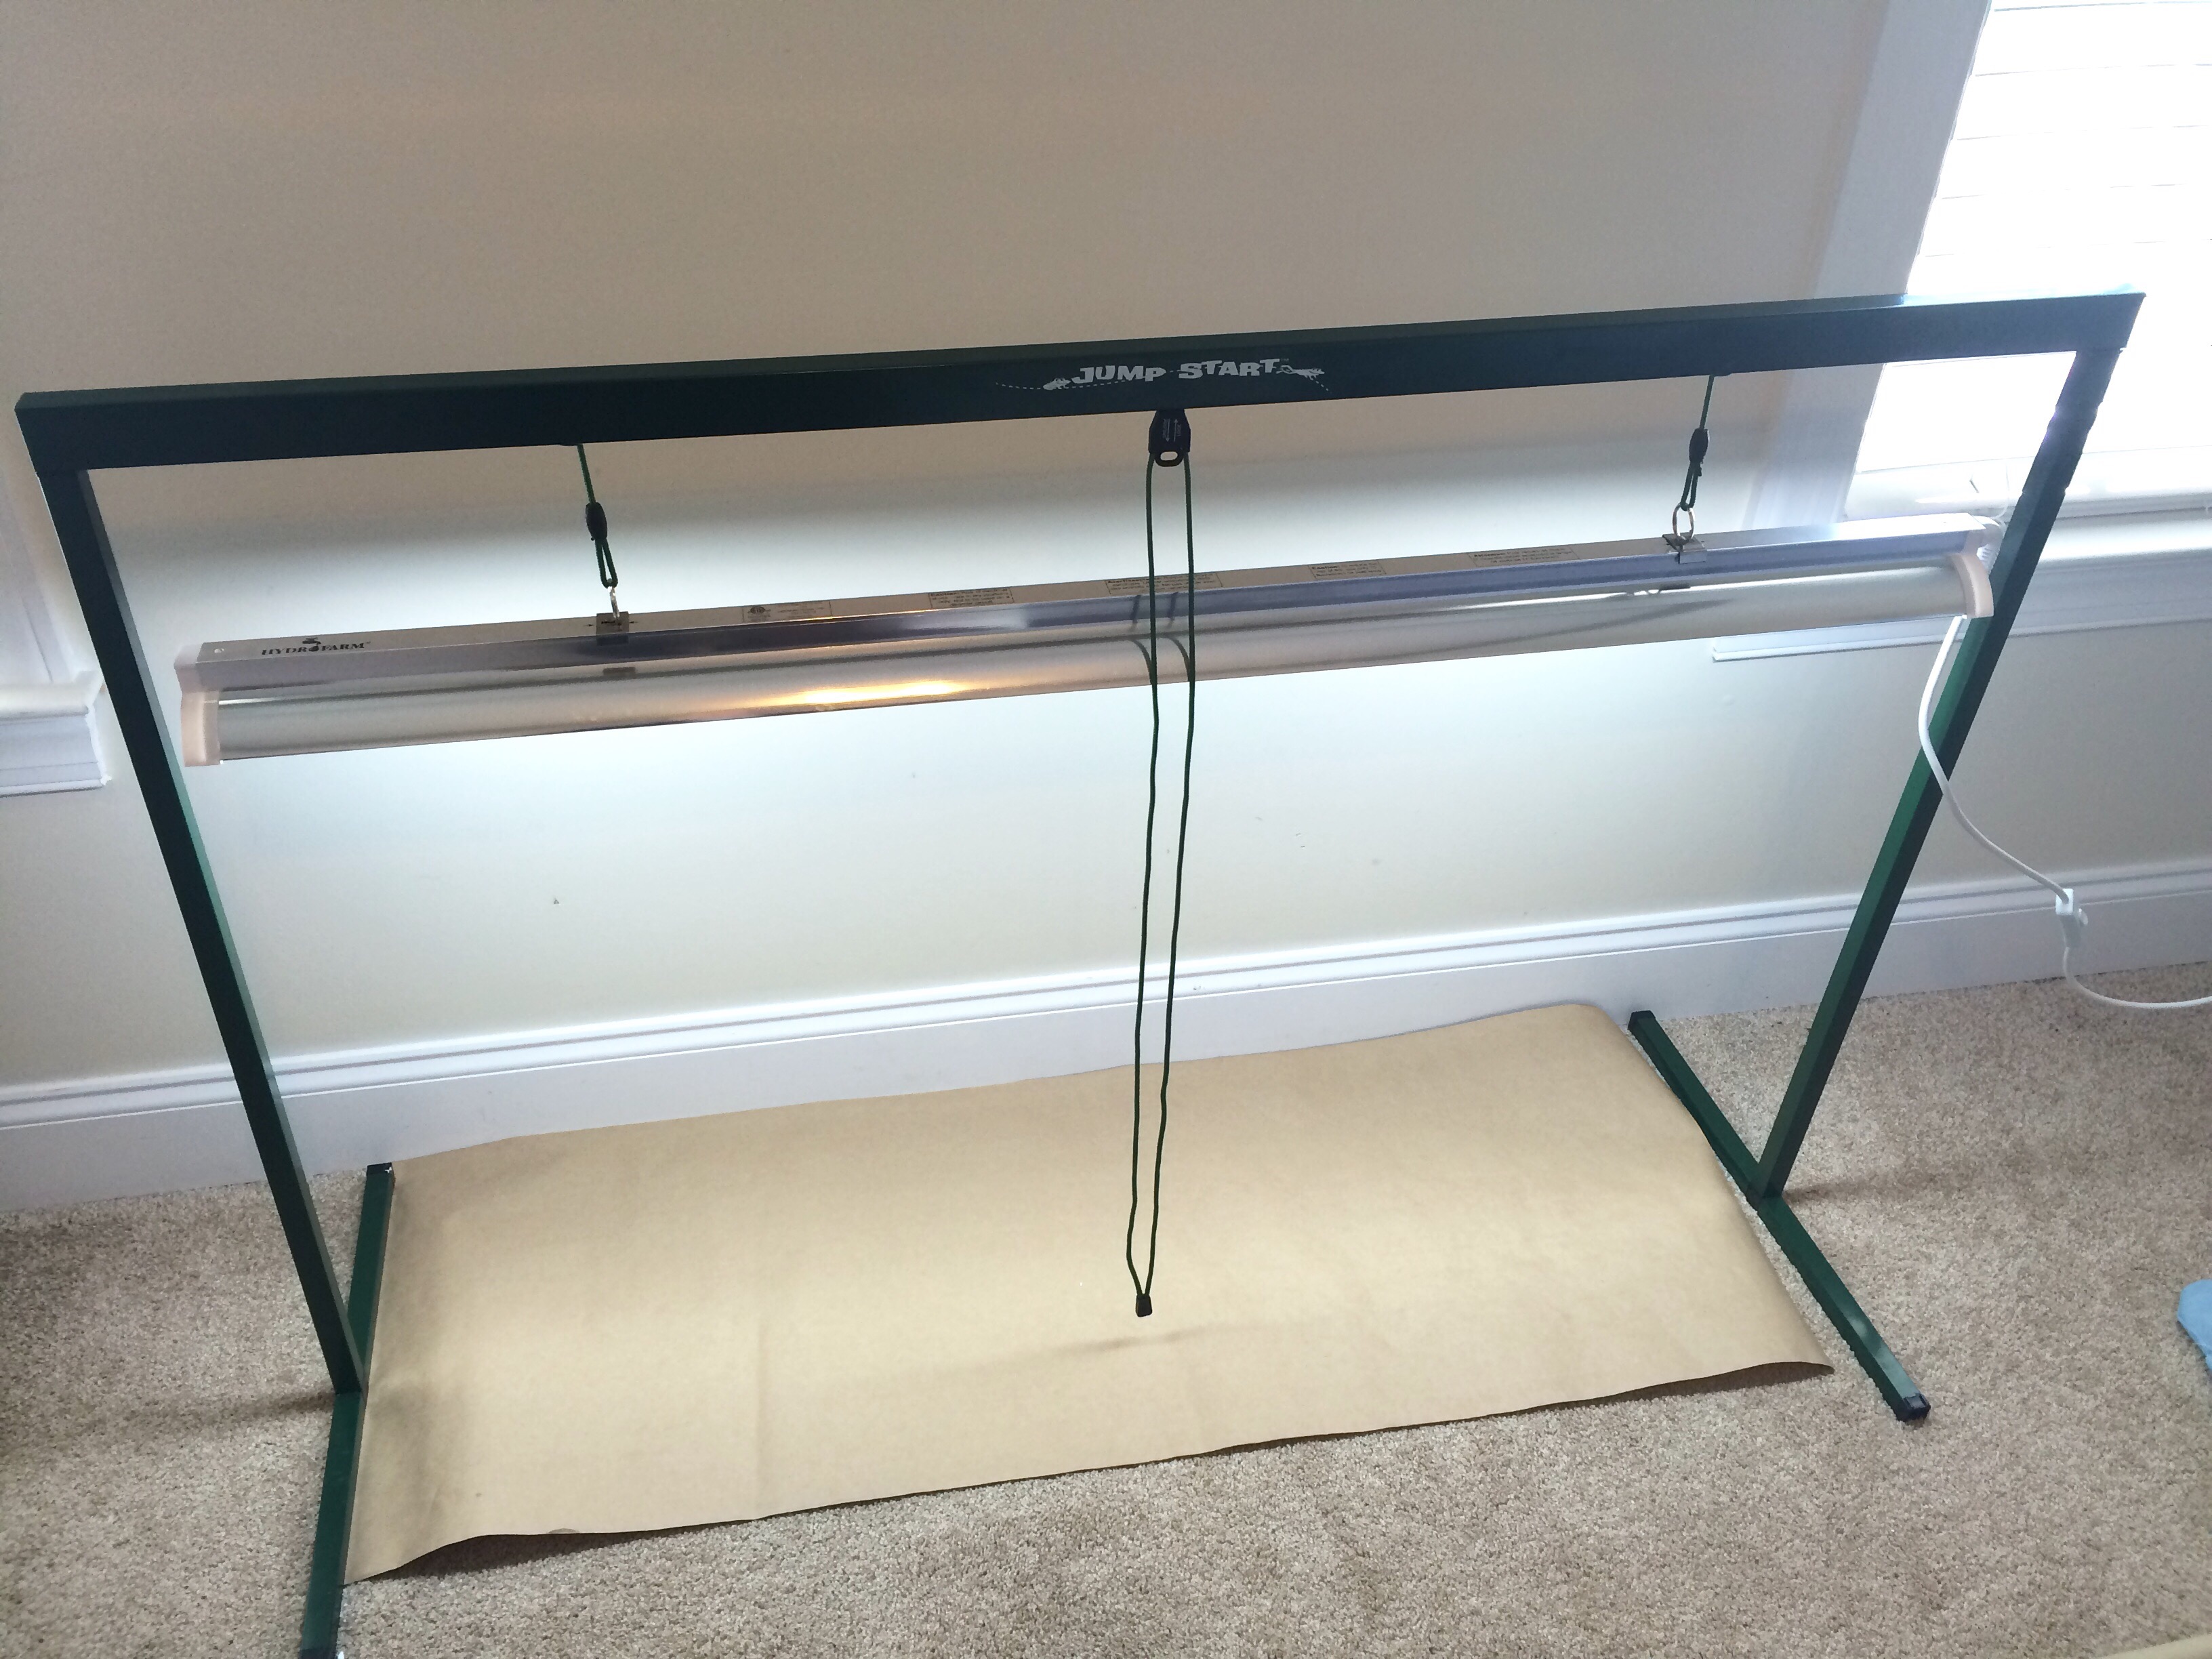
Here is a link to the grow light that I use. From what I found it’s personal preference and the amount of space that you have to place your light that determines what grow light to use. This light works perfect for me.
Jump Start 4 foot T5 Grow Light System
TIP: The location of your light is important. You want it in a location that is not to cool. Your garage or basement might not be an ideal location. If your location is to cool you risk disrupting seed germination.
Now assuming that you have drawn up a grid of your garden and planned out what you are going to grow, you’ve bought and set up your grow light system, purchased your seeds and supplies, then you are now ready to getting sowing!
- Start by placing your starter dirt mix into a large bowl and wetting the soil with water. You don’t want it to be mud but just moist, this will help quicken the germination process.
- Divide the dirt into your trays leveling them off so they are mostly even. Then with the eraser of a pencil create 1/2″ hole in each cell.
- On your popsicle sticks label with a pen what you’re growing. If you’re growing multiple varieties of something you might want to be more specific with your labels.
- Place a pinch of seeds into each 1/2″ hole (about three seeds)
- Lightly cover each hole with dirt. Making sure the seed is not exposed.

6. Place about 1″ of water in the holding tray and then place your cells in the holding tray. Place the greenhouse cover on your tray of seedlings and place the trays in a warm location. Nothing below room temperature and it doesn’t have to be placed near light. Seeds do not require light to germinate.
TIP: I place mine on the top of my dryer, it’s a warm location and out-of-the-way.
7. Continue watering your seedlings every few days until you see sprouts appear. Depending on what you have sown will decipher how long the germination process is. Refer to the back of the seed packets for germinations, transplant, and harvest times.
TIP: It is important that you water your seedlings from the bottom. Pouring water over the top of your seedlings is not recommended, for it can cause disease and mold to grow. Placing water in your holding tray and allowing your seedlings to soak the water up from the bottom is a good way to keep your plants healthy!
Also, if you would like to speed up your germination process you can place a heating mat on low-medium heat under your seedling trays for a few hours a day. This helps to heat the soil and keep it warm creating ideal conditions for germination. When doing this keep a close eye on your seedlings, you do not want too much moisture in your greenhouse for it can cause mold to grow. If you notice condensation in your greenhouse lid remove your lid slightly from the tray allowing more air to circulate.
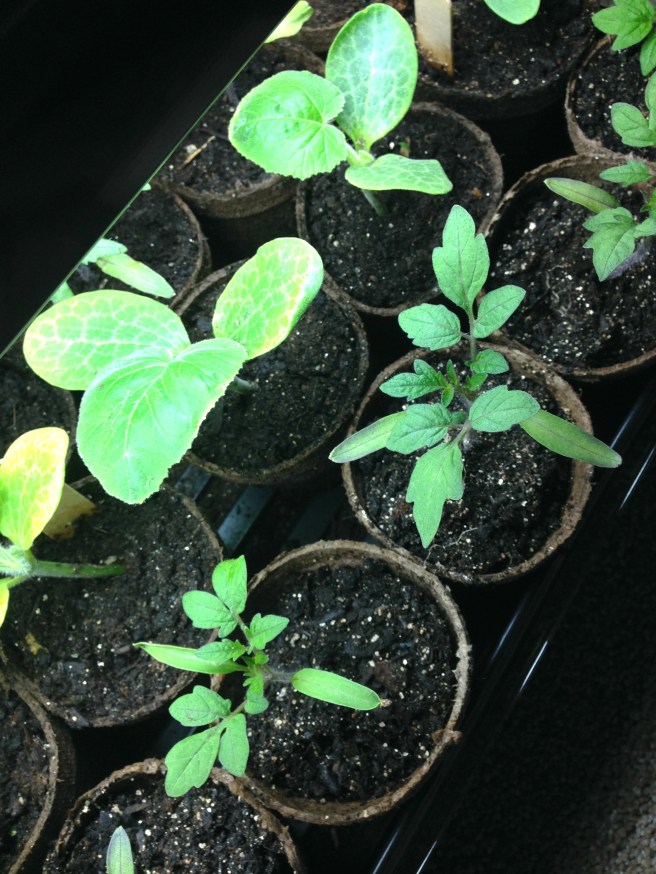
8. After you start seeing sprouts remove your greenhouse covers from your trays and place your trays under your grow light.
TIP: You do not want to keep your seedlings in the greenhouse after they have sprouted for too long. This can create long thin stems on your plants. You don’t want leggy or weak plants. To avoid it move your seedlings to the lights as soon as you see them poking through the soil. The light should be as close to the seedlings as possible without touching the sprouts.

9. Water your seedlings every 3 days or so, making sure your soil is moist but not soaked. Do not allow your seedlings to dry out. I keep my light on for about 12 hours and then off for 12 hours.
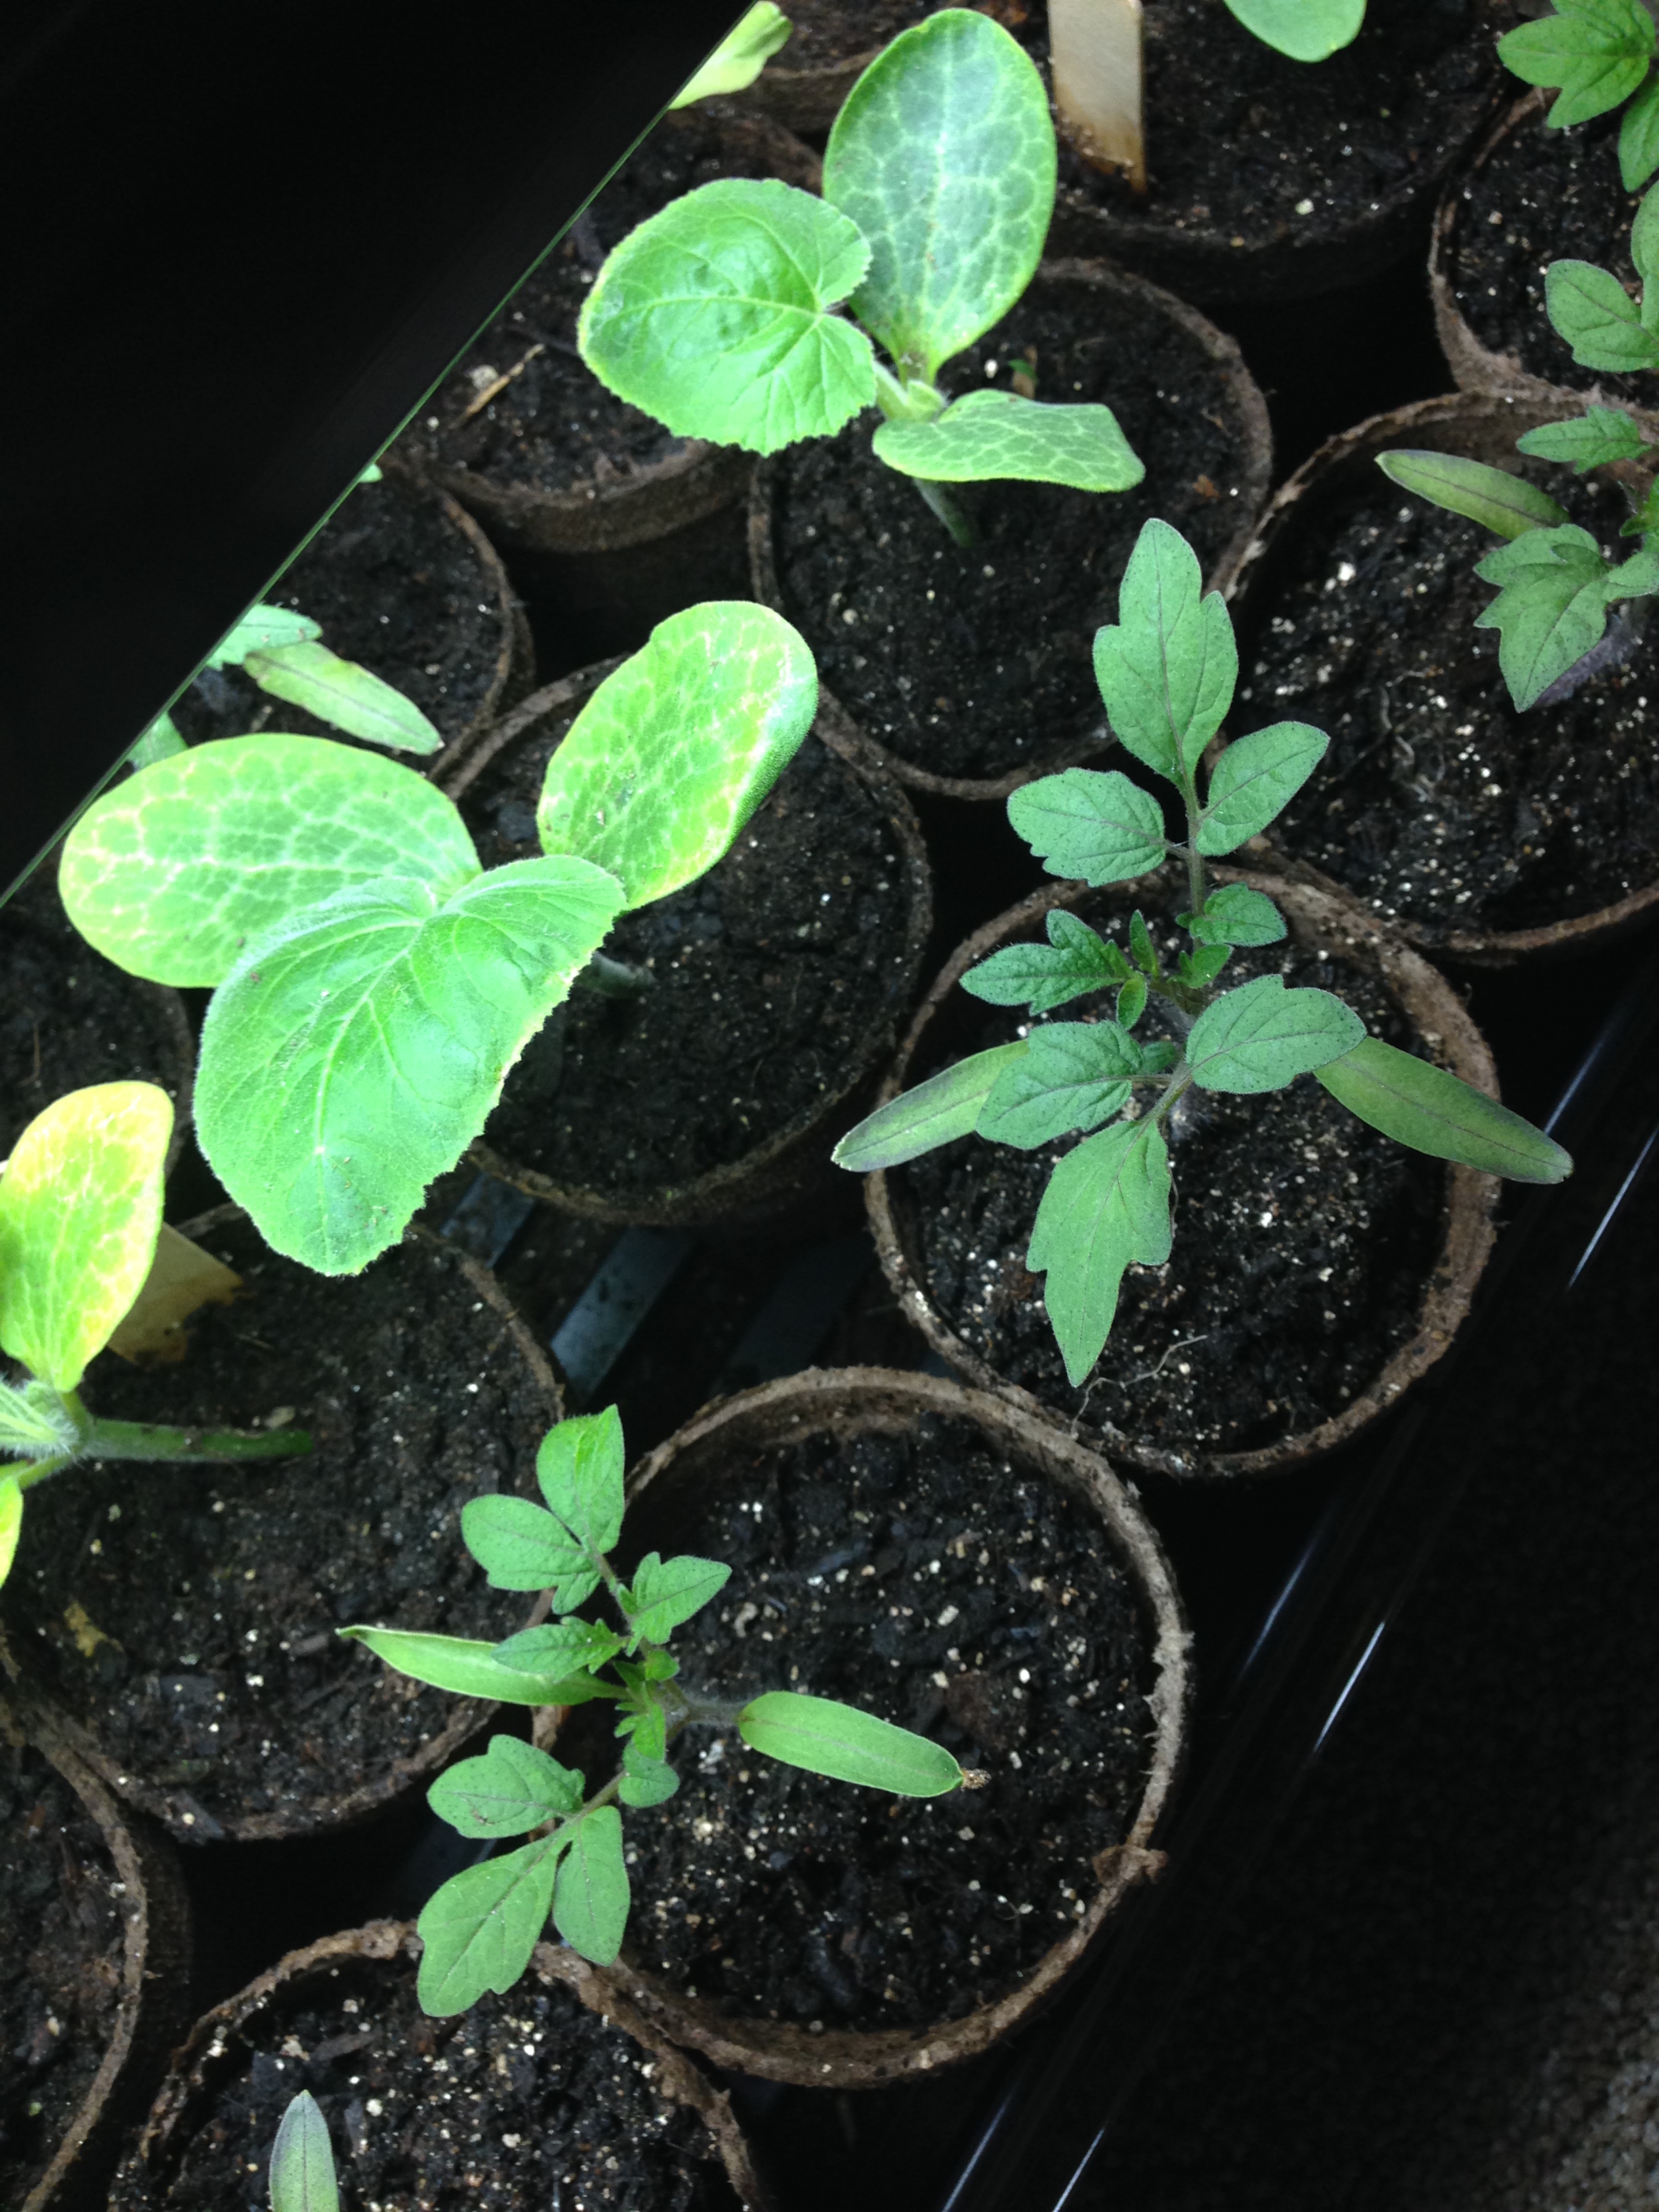
10. You need to thin out your seedlings. This means if all three of your seeds sprouted, gently remove the others leaving one per cell. I usually do this after they are one inch tall.
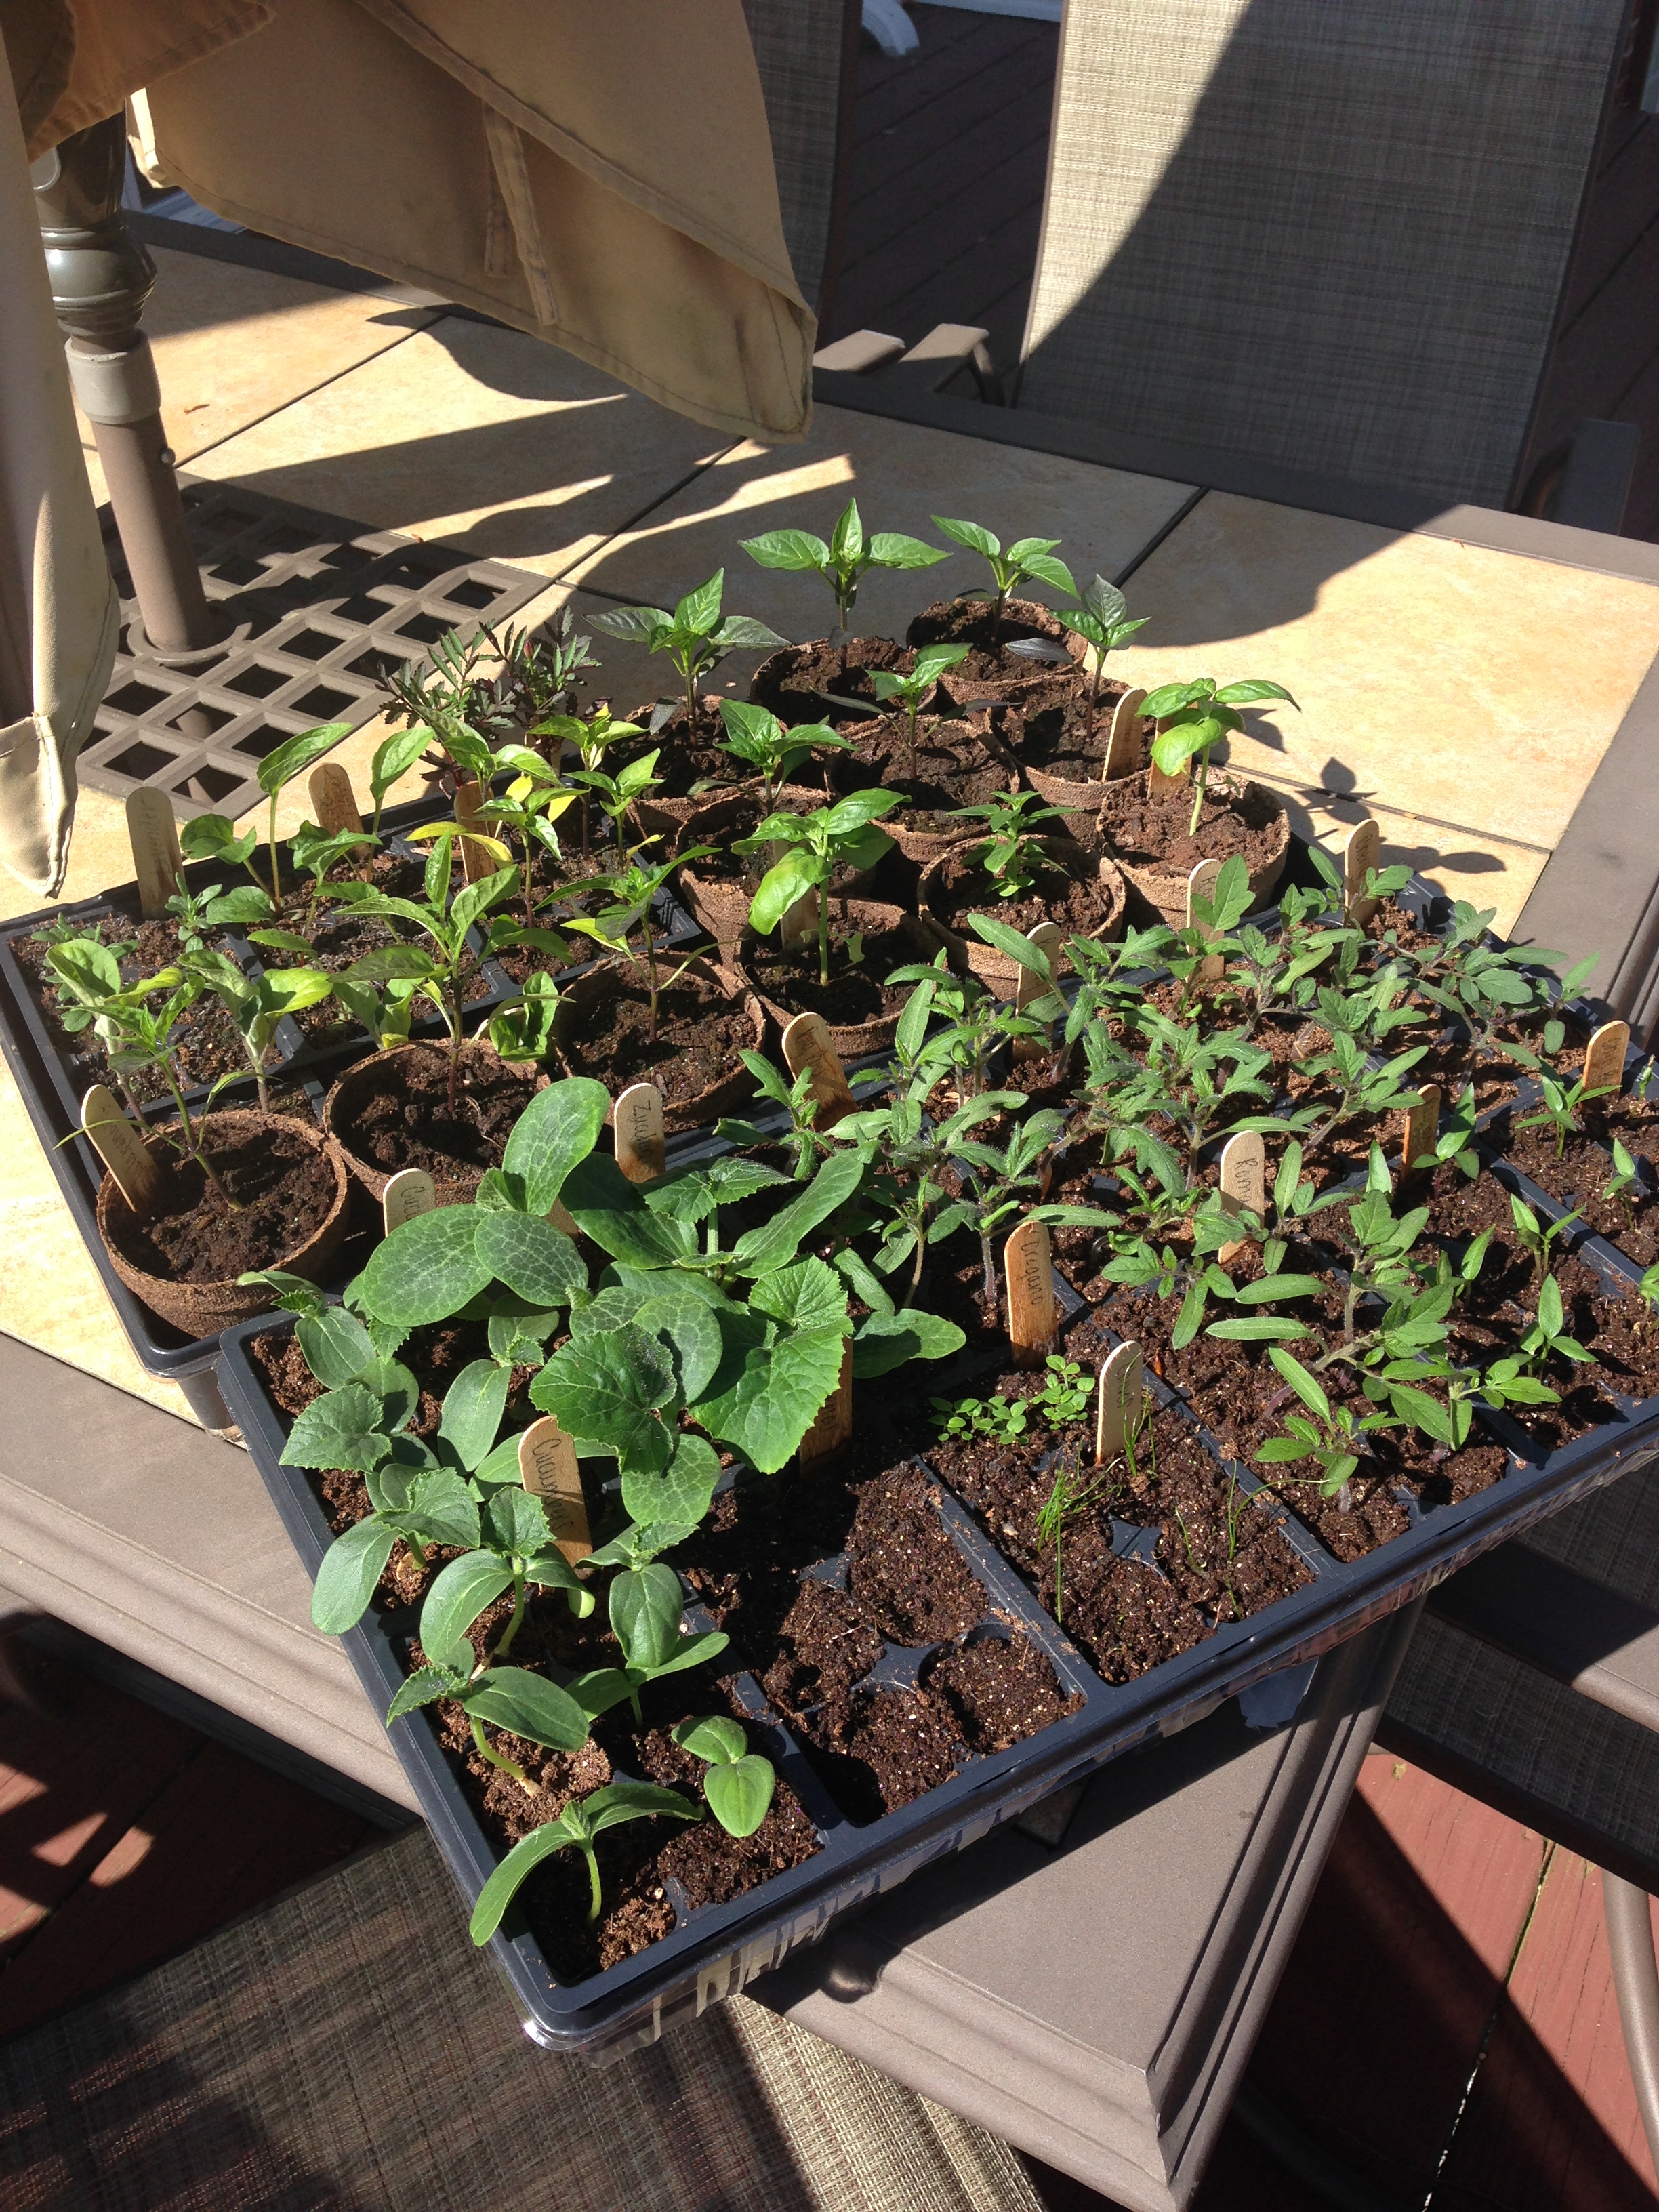
11. Once your transplants are 3-4″ tall and ready to be transplanted into the garden you will need to harden off your transplants . This simple means taking your trays outside and letting them get use to the outside conditions and then bringing them back in. This helps with transplant shock.
TIP: Do not harden off when weather conditions are bad, when it’s too hot or too cold or too windy. I usually leave my transplants outside for anywhere from 5 to 7 hours at a time. I do this for a couple weeks.
12. After 1-2 weeks of hardening off. You are safe to transplant into your garden. Refer back to your garden grid for placement.

Starting your plants from seeds is a great way to save money and get through those winter months! It really is simple and just takes time and patients. It is TRULY REWARDING watching your seedlings grow and knowing you started your garden from scratch!
I hope y’all find this post helpful and please don’t hesitate to contact me if you have any questions!
Grow it. Pick it. Cook it. Eat it
Chantelle
